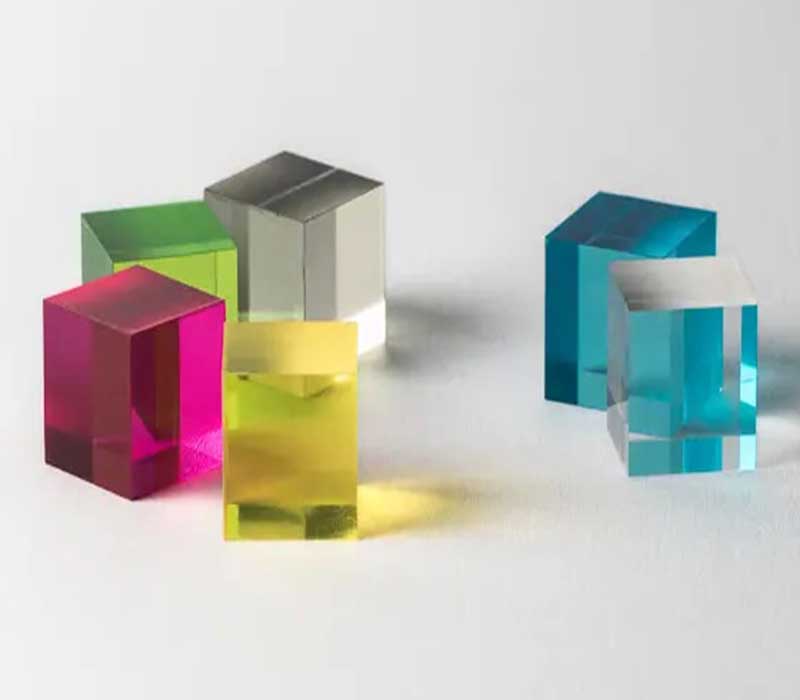
Acrylic blocks are versatile and commonly used in various art and craft projects. Dyeing acrylic blocks allows you to add vibrant colors and unique effects to enhance your creations. In this guide, we will walk you through the process of dyeing acrylic blocks, providing you with the necessary steps to achieve beautiful and eye-catching results.

Materials Needed:
- Acrylic blocks
- Acrylic dyes or ink
- Plastic containers
- Protective gloves
- Droppers or pipettes
- Paper towels
- Water
- Sealer (optional)
Step 1: Prepare the Workspace
Before you begin, make sure you have a clean and well-ventilated workspace. Lay down a protective surface, such as a plastic sheet or newspapers, to prevent any spills or stains. It is also advisable to wear old clothes or an apron to protect your clothing.
Step 2: Clean the Acrylic Blocks
Clean the acrylic blocks thoroughly using a mild soap or detergent to remove any dirt, dust, or oils. Rinse them with water and pat dry with a clean towel or paper towel.
Step 3: Choose Your Dyes or Inks
Select the acrylic dyes or inks of your choice. These are available in various colors and finishes, such as transparent, opaque, metallic, or fluorescent. Ensure that the dyes or inks are specifically designed for use on acrylic surfaces.
Step 4: Dilute the Dyes or Inks
Follow the manufacturer’s instructions to dilute the dyes or inks with water. Generally, a 1:1 ratio is recommended, but you can adjust the concentration based on the intensity of color desired. Pour the diluted dye or ink into separate plastic containers, one for each color.
Step 5: Apply the Dye or Ink
Put on protective gloves to avoid staining your hands. Using droppers or pipettes, apply the dye or ink onto the acrylic blocks. Experiment with different techniques such as dripping, splattering, or brushing to achieve your desired effect. Remember to work quickly as acrylic dyes or inks tend to dry fast.
Step 6: Blend Colors (Optional)
If you wish to create a blended or gradient effect, you can overlap or blend different colors on the acrylic block. Use a brush or a sponge to gently blend the colors together while they are still wet. This technique adds depth and visual interest to the finished block.
Step 7: Allow the Blocks to Dry
Place the dyed acrylic blocks on a clean, dry surface and let them dry completely. Avoid touching or moving the blocks during the drying process to prevent smudging or mixing of colors.
Step 8: Seal the Blocks (Optional)
To protect the dyed surface and enhance the longevity of the colors, you can apply a clear acrylic sealer. Follow the instructions on the sealer product and allow it to dry completely before handling the blocks.
Conclusion:
Dyeing acrylic blocks opens up a world of possibilities for creating stunning and vibrant artworks. By following this step-by-step guide, you can easily dye acrylic blocks and add a personal touch to your projects. Remember to experiment with different colors, techniques, and effects to unlock your creativity and achieve the desired results. Happy block dyeing!
